Apron Stitching - Arghhh to Simplicity Directions!


This week I took time to stitch up an apron for Dear Daughter - to go with her decor of her first little home with #1 Grandson and wonderful new hubby! Thought it would come in handy as she does Christmas cooking in her first home's little kitchen. Here is a snapshot of the completed project. I whipped it up in about 1.5 hours - but arghhhhh - if I weren't a seasoned 'old' seamstress, those directions - or shall I say LACK OF directions in Simplicity 3752 would have had me saying not-s0-nice things and cursing sewing forever!
First it starts off with notions of Piping" and 1/2" double fold bias tape. More arghhhhh.
I selected 3 coordinating little prints - one a stripe - cause I always love strips on the bias, and knew without even looking further at the 'directions' that I'd do bias cut bindings instead...MUCH easier!

First of all, it was obvious that that pocket would have NO body to it - as there was NO lining, no interfacing along the top edge. The directions said to 'stitch piping around all edges of the pocket'!!!! A few curves and 2 corners to navigate - yea, that would be simple if I didn't know anything about sewing!
So - I cut a lining of the little polka dot 2" taller than the pocket pattern. I stitched that onto the top - right sides together in a 3/4" seam, then pressed it up - then down, to 'line' and bind the pocket top edge. I fused some of my Straight Fusible Stay Tape along that upper edge - 3 rows of it actually.
Then - instead of piping around the pocket, I cut some bias 1 1/2" wide of the same polka dot and bound the edge stitching it right side to right side as you can see in this photo. Then - I trimmed the seam allowance to 1/4", pressed it away from the pocket, and around to the backside. THEN I stitched it to the apron's top section. About that time, I'll admit, I realized that I should have trimmed the pocket outer edges down by 5/8", as it reallly seemed to large - but who can't use a BIG pocket while in the kitchen?


Step 3 of the directions provided had you 'piping' the lower edge of the bottom flounce. I knew I wanted to use a bias binding instead - of my stripe, so I folded my hunk of fabric as I instruct in my How to Fold Fabric to Cut Lots of Bias technique as you can find in my FREE INFO tab at my website - or in lots of my Creative Sweatshirt Jacket patterns, and my Embellishment DVD. Here's a photo of the finished bias-folded hunk of fabric which I then cut into 1 1/2" bias strips.

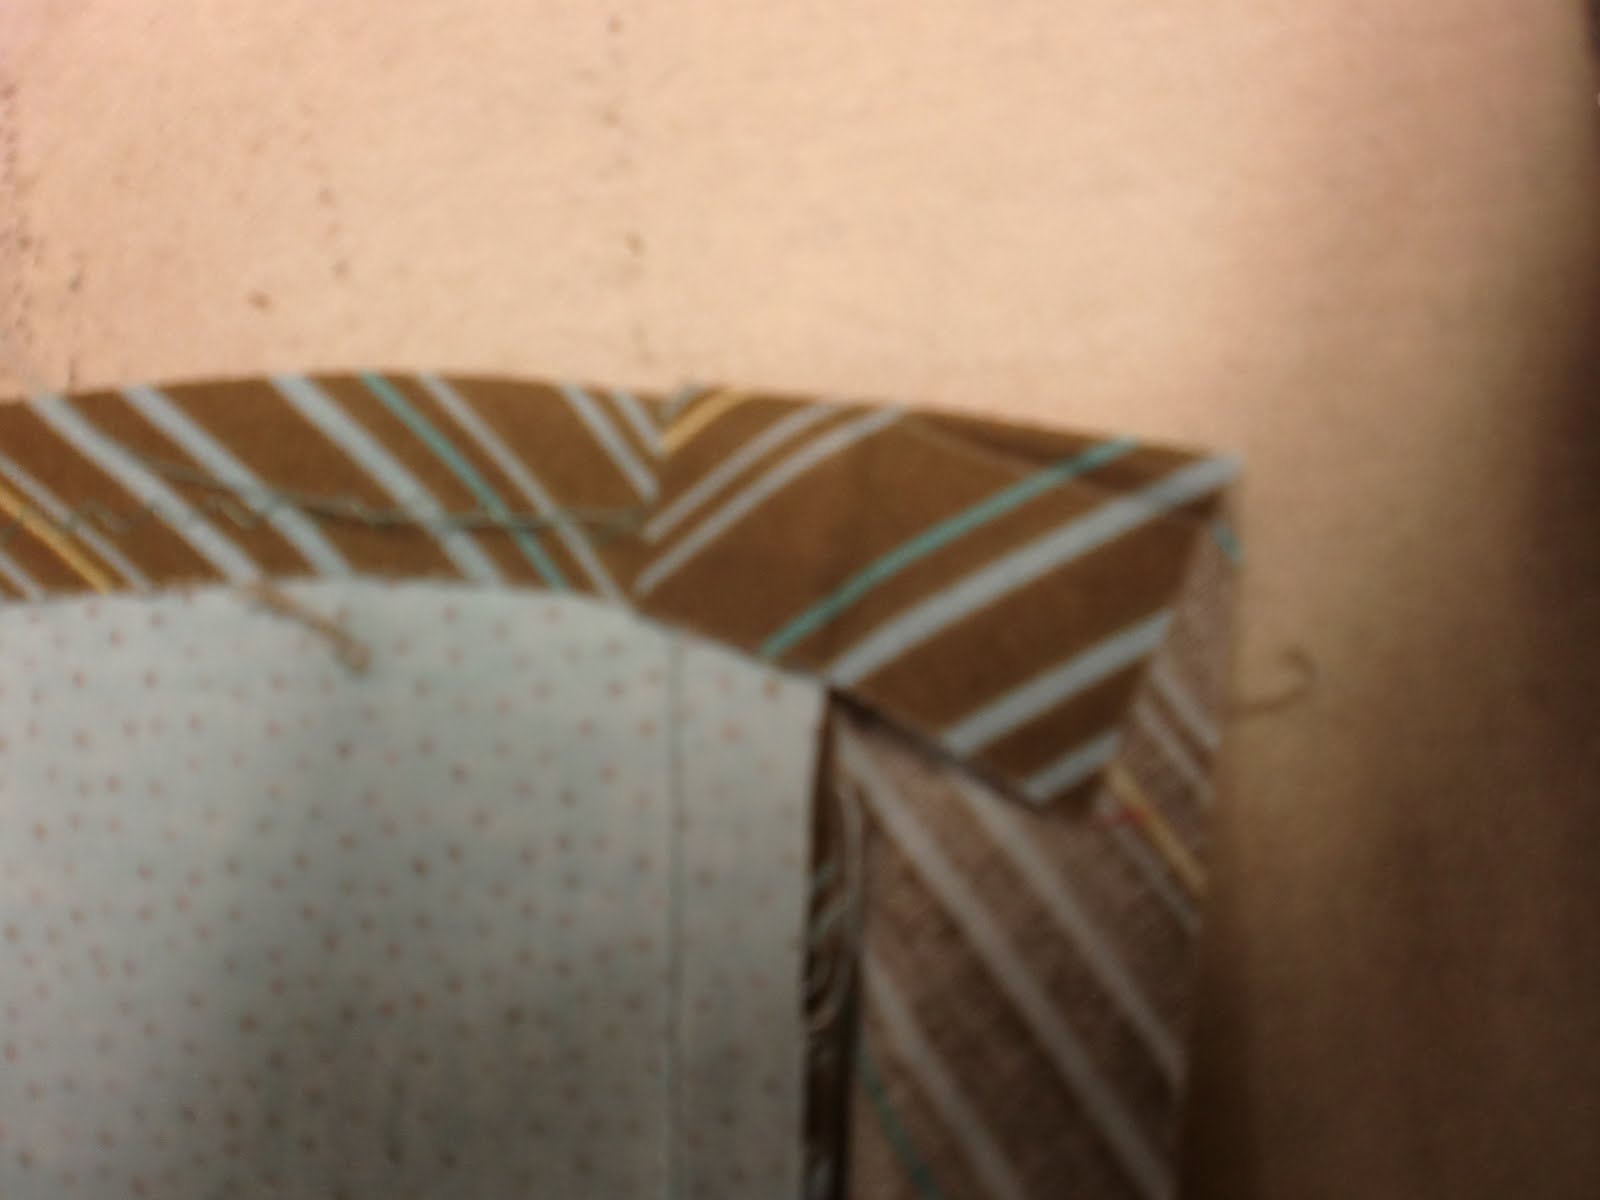
I used this bias to bind first the bottom edge of the polka dot flounce, and then the side edges of the apron. The photo below shows how I angled the fold just a bit at the corner before I did the final fold back - which then got 'stitched in the ditch'. The bias edge inside the apron was trimmed down a bit - but left 'raw' as this edge being bias will not ravel.

Left them was to create the top finish and tie ends - which those great directions said to do with bias tape! Yuck!!!!! I created a 'waistband' of the stripe fabric - on the bias - cut it 5" wide. You can see here that I also knew to interface that band across the front. That is the white piece here in this photo.

I I added healthy 55" extensions to that center front waistband for the ties, set the edges right sides together and stitched as you can see in the photo above. That put a seam on an edge - and to get it to lay nicely when turned, I pressed the seam allowances OPEN first, before turning the tie right side out. See photo below at th
e left. The angled edges needed to be trimmed to eliminate bulk at those corners once turned right side out also. See photo below at the right.

To then turn those tie ends, I grabbed for my favorite little tool - the ball pointed bodkin and stuck the ball end into the tip end of the tie, the other end against my body and shoved the tie down it until the pointed end pushed by the ball end of the bodkin protruded through the 'hole' where the tie becomes
 the waistband of the apron.
 You can see by this photo then that on the inside of the 'waistband area', the seam allowance turned under for a nice finish. I topstitched along that edge to secure.
 Here's a back view of my finished project...on my 'body' - my Duct Tape Double.
 Anyway - I just hate it that directions in the 'Big 4' patterns are so awful - and use such antiquated techniques. I hope the way I approached it and shared here can help you out some and improve your product AND make doing so more fun!


1 comment:
Londa, I agree with you on the deplorable instructions coming with patterns from the Big 4! I made a wool jacket for my pregnant daughter-in-law last week using a Vogue pattern and had to resort to my many years of sewing to complete it. A total lack of basic construction instructions! What has happened to the sewing world! The other issue I had was finding a maternity pattern. They no longer exist! The pattern I settled on was a cape-style jacket with plenty of width.It's a shame because a newer generation has shown interest in sewing again...
Post a Comment