SEWING DILEMNA? Ask Londa's FREE advice!!!

Yes...as a sewing educator for over 35 years, designer, and author with experience as a sewing machine dealer/fabric shop owner, custom dressmaker and more...I'm most happy to answer ANY and all questions to the best of my ability. Just contact me HERE with your question.

Saturday, July 30, 2011

Titanium Facts explain STRONG Rotary Cutting Blades

I LOVE my Roll the Gold Titanium Rotary Cutting Blades...
and I sell LOTS of the Schmetz Titanium Embroidery Needles....SEW I was curious...
WHAT is Titanium?  
Googling...I found: oh yeah - that it is on the periodic table of elements - #22.  Briefly taking me back to the horror days of college chemistry!  (It probably woulnd't have been so bad if I'd had a CALCULATOR instead of SLIDE RULE...but then let's not talk about how long ago college was for me...as I already gave it away!  
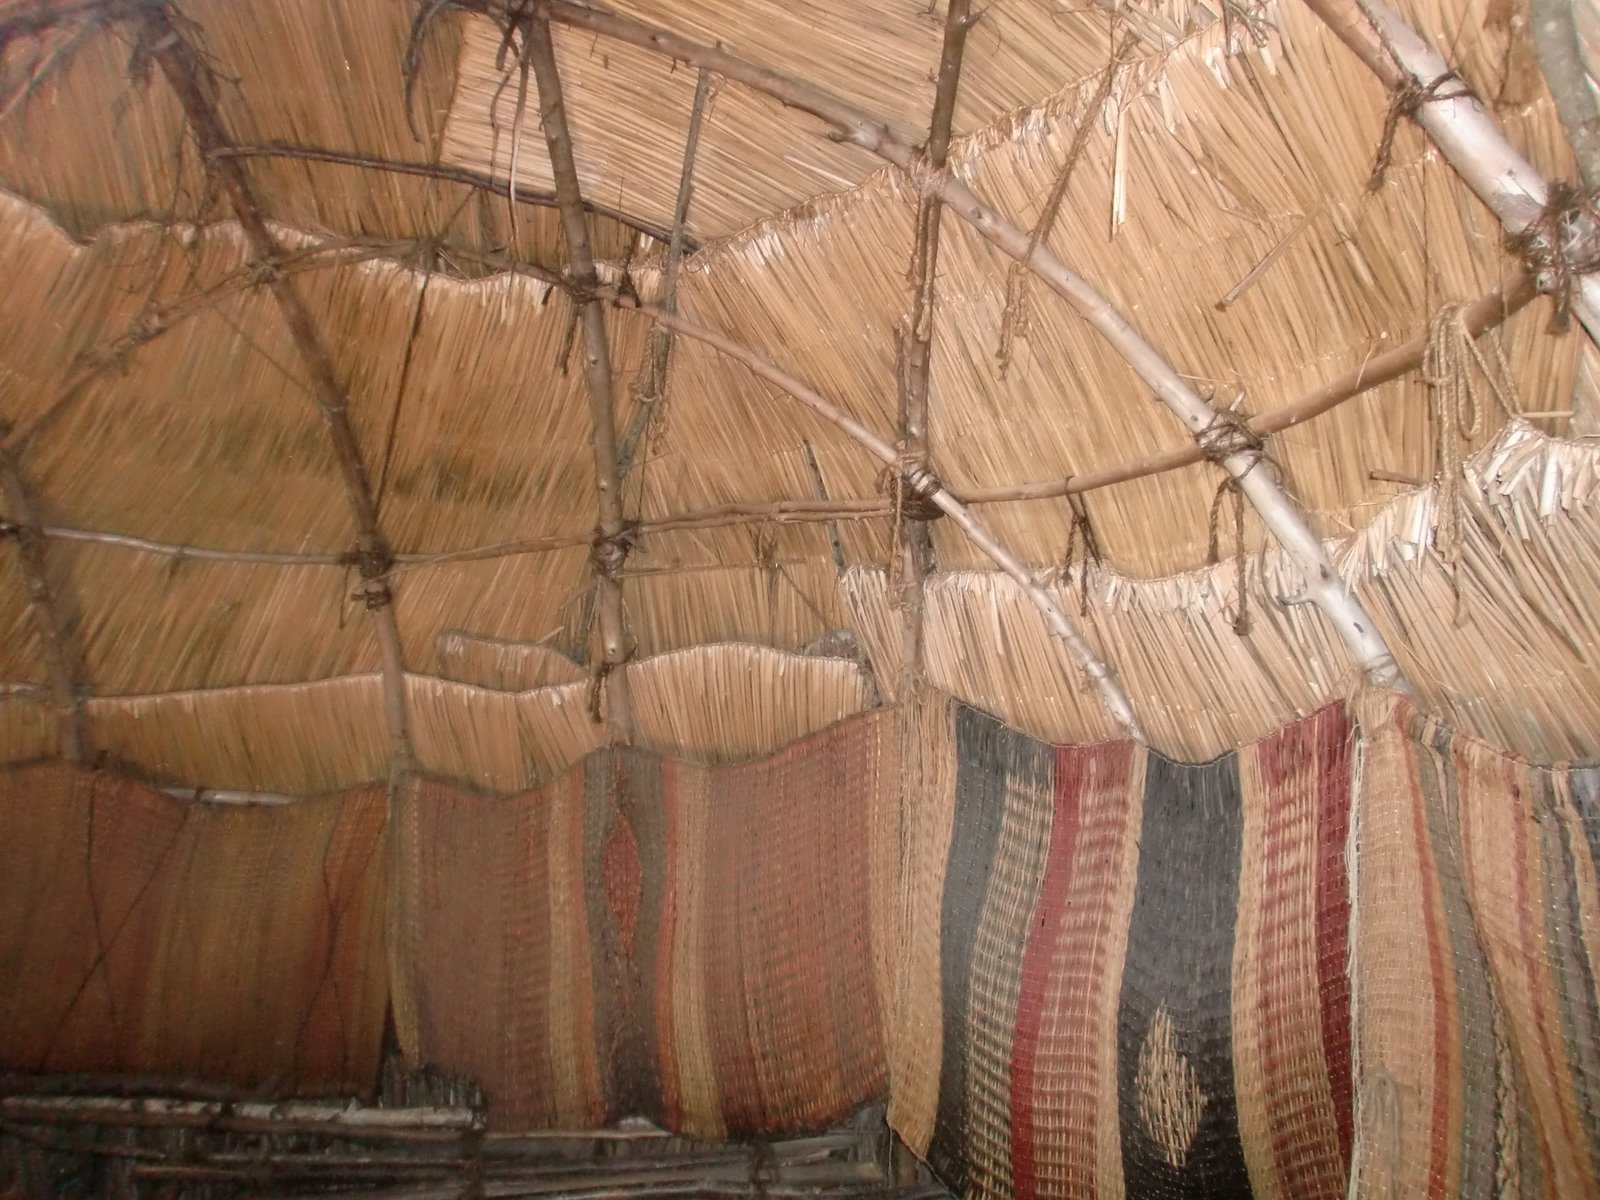
Gorgeous, textural stuff if I do say so.  See this:

I knew it must be strong - so here are some interesting facts:

1. It has a low density and is a strong, lustrous, corrosion-resistant (including sea water, aqua regia and chlorine) transition metal with a silver color.
2. Titanium was discovered in Cornwall, Great Britain, by William Gregor in 1791 and named by Martin Heinrich Klaproth for the Titans of Greek mythology.
The element occurs within a number of mineral deposits, principally rutile and ilmenite, which are widely distributed in the Earth's crust and lithosphere, and it is found in almost all living things, rocks, water bodies, and soils.
3. Its most common compound, titanium dioxide, is a popular photocatalyst and is used in the manufacture of white pigments.

4. Titanium can be alloyed with iron, aluminium, vanadium, molybdenum, among other elements, to produce strong lightweight alloys for aerospace (jet engines, missiles, and spacecraft), military, industrial process (chemicals and petro-chemicals, desalination plants, pulp, and paper), automotive, agri-food, medical prostheses, orthopedic implants, dental and endodontic instruments and files, dental implants, sporting goods, jewelry, mobile phones, and other applications.


5. The two most useful properties of the metal form are corrosion resistance and the highest strength-to-weight ratio of any metal. In its unalloyed condition, titanium is as strong as some steels, but 45% lighter. 
As I blogged once before - this blade, along with the Dritz KAI blade, are the only ones I use in my sewing/design work.  WHY?  They just hold up longer!!!!  Nothing aggravates me MORE than 'hanging chads' i call them of fibers of fabric I'm trying to cut.  I want a crisp, clean cut - EVERY TIME, and that's what I get - the longest - with these Titanium Roll the Gold Blades. 
 
SAVE $ on these blades since you read about them at my BLOG!  
Click Below. 

Friday, July 29, 2011

Vacation Inspiration

The Hydrangeas were AMAZING, BREATHTAKING, HEAVENLY, EVERY COLOR - EVERY WHERE.  They said all the rain they had this spring contributed.  The BEST part of vacation - next to visiting my cousin! Her hubby is a scallop fisherman - now THAT was interesting!
I even made myself try Steamers and Clams.  Once is enough...thank you!


Inspiration from a ceiling - I think in the Libary in Boston.  This will be design inspiration for free motion or couching ... something on one of my Creative Sweatshirt Jackets!

99% of library patrons sat laptops or ipads.  WHY were they in the library is what I want to know. Oh yea - perhaps the aura of learning.

Sunset the first night in Provincetown.  It set SO quickly!!!  Sunsets and the ocean..always put me in my place in relationship to God.  I find it so easy to get so 'into' ones one life - the minutia...that unless we spend time in God's word DAILY, the ME gets way, way to big. 


This guy was a dichotomy in eras - an Indian from when settlers first arrived, and dressed as such - in a power chair.  Good for him!  Working - sharing - celebrating his heritage.  Each character at Plimoth Village IS and STAYS in character!  Really educational. 


Texture of stacked bark off trees - bound to be roof of their 'homes'.

 Don't tell me that wallpaper is anything new!
Women have always worked with their hands to create something of beauty - I forget what fibers this gal was using - but they were from nature.
This settler woman was roll-hemming a kerchief for her husband.  Linen fabric - linen thread.  And we think WE don't have time to sew!!!!

Whale Bone - scrimshaw it is called.  Whale bone was also used in corsets for the 'boning'.  Duhhh
The first is a beautiful basket.  The 2nd is the contraption that you use to wind a ball of yarn from a skein of yarn.  I forget what is called - anyone?


And if you think there is such a think as 'junk'... think again.  On the island of Nantucket in one of the gallery windows, we saw this!  I wish I had written down amazing artist - but alas, no.   See what this artist transformed stuff like this into!  Taking a photo let me 'see' it in from a different vantage point - a trick I'm finding useful in wearable art garment design - take a photo, then look at the photo for a different 'view' that is VERY revealing.
Also - on Nantucket - I FINALLY found a fabric store!   Here is what I added to my 'Library' of fabrics... 'Visual Resource Center' a customer once cleverly called her stash!
This reversible texture with a GREAT selvage and a wonderful stripe - that I can seam, cut, piece, and bias strip in many ways is very rich and wonderful and 'in' color scheme on the Brown USA Comfort Color Sweatshirt. 

This is a 92'' x 72'' antique tablecloth.  Wish I knew lace to know the type - JoAnne, I'll be emailing you for your ID of it! 
Anyway - on brown, cut up, pieces, border - can't WAIT to get started.  
SEW... Comment to let me know what YOU have found on your travels to add to your stash or inspire you! 
 

Wednesday, July 27, 2011

New Product Bulletin: Wonder Clips from Clover Notions for sewing and quilting

New Product Bulletin:  Wonder Clips

           
These little clips are going to change your sewing experience. The more you use them the more places you will find to use them instead of a pin.
The genius of the Wonder Clip design is the flat bottom to make machine sewing flow smoothly. The heavy duty hinge holds even the thickest binding/quilt while stitching by hand or on the machine and the 1/2″, 3/16″, 1/4″ and 3/8th ” marks on the flat side (clear) of the clip allows you to accurately clip and mark where you will sew.
The BEST is that the Wonder Clips replace pins … no more blood drops on your quilts, no more bent pins, no more poked fingers …just a “painless” binding experience.  For those of us that love to do English paper piecing, these little clips will be a life saver. Often times when tacking the first couple of corners of the paper piece/fabric the paper template will slip and, if you’re not careful, when finishing there won’t be enough fabric to correctly finish. Just place a clip on the fabric/paper template and NO MORE SHIFTING!  Wonder Clips are available on a card with 10 clips, or in a box of 50." 7-26-2011:  The card of 50 is on backorder, so if you order it  plan to wait.  :)  

SAVE 20% for a limited time.  Click HERE to order Today!  

Friday, July 08, 2011

Baby Alyssa Ensemble

I've been so looking forward to sewing some little GIRL ruffles - and baby Alyssa,my sister's granddaughter born May 23 is just the excuse...

This little Sun Suit from Sew Beautiful, current issue No.137, 2011. Vol. 25, No. 4.

First, I show folding the back ruffles as directed. I KNOW my ruffles are cuter because I cut them on the BIAS rather than on straight grain as directed.


This is the back for Baby's bibbed sun suit. It has you hand wind elastic thread (without stretching) onto the bobbin, then stitch. Oh - and once you do this stitching as directed, it is important to hold a steam iron over it to make it all pull up as you see here. I don't like this technique - never have, as it doesn't hold up. I would rather advise to line with a soft fabric - even in this area only, sew casings, and run 1/8'' elastic through the casings. You'll be happier.


This is the sleeve ruffle - cutting an arc at one end, then using that as the pattern to cut the arc at the other end. I used fabric cut on the bias, and folded for the ruffles instead of eyelet trim or lace.


Here are my finished straps. See my gathering technique on You-Tube. Search for Londa Sewing...


Cloth Baby Booties

These are adorable Robeeze copy fabric baby booties. I found the pattern on a blog - www.stardustshoes.blogspot.com.

Here you see I have pulled the 9'' length of elastic through the Heel casing, and the wrong side of the Top through the slits, pulled to 7'', stitched, then the excess cut off. Note that the sides of the heel are NOT stitched to the sides of the Top/Sole seam. This took me a bit to figure out.


Ahhh - too cute! Now, I've trimmed the Sole to Top and Heel seam by pinking with pinking shears. I honestly think this is preferred to serging because tiny toenails could get caught in serging threads/loops. This makes it nice and soft inside, and solves the notching that is necessary to remove some of the bulk of the 'outie' seam allowance because when it gets turned right side out - that exterior most seam edge becomes an 'innie' curve as I say - needing less space. Understand?


Elastic joining scootched around so invisible. This shot shows the inside of the bootie really well.

Cute or what? Needs a bonnet....


Back View ...I just had to add the yellow ribbon on the straps and down the center of the butt ruffles.


Londa's Heirloom Bonnet  -Kit 
SAVE on my combo of the pattern seen below, silk organza for back pouf lining, elastic, baby piping cord, safety pins. 


Creating the Fancy Band for the Baby Bonnet. Here is the first step of the Colonial or Candle Wicking Knot - I"m using 1/8'' wide silk ribbon. The white is adorable,delicate tatting I bought at the Martha Pullen Arlington Market I did in late June, 2011.


Next step in those Candle-Wicking Knots.


And...the last step in the decorative knot. I let my silk ribbon travel from one knot to the other on the back side of the Fancy Band as my pattern directs you to line this Fancy Band any way - covering it up.Note here you can see that I staggered the loops of the double rows of the tatting when I applied it. I carry the itsy bitsy piping cord at my website. You can see it at both edges of the Fancy Band. Yellow was obviously the 3rd, and accent color of this ensemble.

Just enough tatting left to put into the front edge of the front Ruffle on the Bonnet. Yeah!


Stitching the 'lining of the Front Ruffle - from the side where I can see the stitching of attaching the tatting - stitching just a needle width to the left of that stitching.


Cutting the arcs at each end of the Front Ruffle.


Using my gathering technique to attach Front Ruffle to Fancy Band. Note the threads figure 8'd around that right most pin. My You-Tube video can be found with all the rest of my how-to videos HERE.


Ahhh - too cute! I LOVE sewing ruffles. Dear Lord, send me a Grand Daughter to join my #1 grandson! Now to line the Fancy Band.


Sandwiching the Fancy Band/Front Ruffle unit with the Front Band Lining as per my really good directions in this pattern - my very first - done way back in1988!!!


Flipping Fancy Band Lining to the inside. See how nicely that baby piping just adds the little touch of color at each long edge of the Fancy Band - which, by the way sizes the bonnet. You just take earlobe over head to other earlobe (bottoms of each) and add 1/2'' for how long to create the Fancy Band - and approx 2'' to 2 1/2'' wide.


Drawing in side bonnet casing lines as per directions - on OUTSIDE of the Pouf.


At this time - I realized I hadn't cut a Pouf Lining (duh - I didn't have enough fabric!), so I went to my STASH and found the perfect silk organza for the ling - which is over the top of all this - the elastic pieces as directed, are secured. The left one is for the back pouf circlet and the right one (duplicated at the other end of the Pouf) is to pull the bonnet in at the bottom, neck edge. The Silk Organza was perfect because it is lightweight and ads just the perfect crispness to the bonnet.

This shows ripping a little hole at the X as at the top of the 2nd side of the directions in my pattern. This is the ONLY thing in these - my very first directions ever, that I would improve on - you can't really see the X in the diagram. It is at the left end of the Back neck Crown Edge - right above the words 'Center Back'. It is through this hole that the back crown elastic will exit. That gets anchor stitched, and eventually covered with a ribbon/button unit as you'll see.


My directions do instruct you to secure tiny safety pins onto the ends of each piece of elastic, so that you can easily pull the elastic through after the Pouf Lining is attached.


Oooo - I need a manicure! Anyway - securing the end of the elastic with machine stitching. Do at both 'sides' or bottom edges of the POUF.


Attaching Pouf to the back side of the Fancy Band. The pattern calls for a Back Ruffle as well as the Front Ruffle, but I just didn't think this bonnet needed the Back Ruffle. What fun is sewing...YOU are the designer!


Now it is time to stitch across each of the lowermost ends of the Fancy Band, securing the Lining to the outer Fancy Band. I designed an absolutely adorable technique to attach the Ties on the outside. See next steps!


How the bottom-most edges look all finished off.


1/4'' folded in on both sides of each tie. At the machine, finger fold in the little bit of extra. Establish where under the presser foot the right folded edge will be guided, and WALA, a beautiful, double folded and stitched edge! Do one side of each Tie.


Fold one end at an angle as shown. Now,stitch across this double layer at the other long edge, along the pressed line from the opposite side you see here.


Trim excess, turn right side out, pull out corner crisply with a pin and press. NOW finish the other long edge with same technique used on first long edge,but stop at this cross stitching.

Fold 3/4'' down to the wrong side at the other end of each tie. THEN fold it as shown.


Attach folded end with machine stitching as shown, then pull center fold down as you see here. Add a decorative Candle Wick Knot or French Knot inside for that special little touch.


Hand crocheted thread loops close the back of the Bonnet - at both the back crown elastic edge, and the lower edge. Ribbon streamers make it very 'girly'. I need to add my hand crochet method for thread loops to my YouTube Videos...


Finished ensemble. Now to wrap it and send it off. She's just a month old now - so this will be perfect for NEXT spring and summer. Can't wait to see baby Alyssa - my Grand Niece - first GIRL of the GREAT Grand Kids for my folks in it!


Londa's Heirloom Bonnet  -Kit 
SAVE on my combo of the pattern, silk organza for back pouf lining, elastic, baby piping cord, safety pins.