You all know I'd rather sew than cook - but since cooking was a necessity this last weekend, I found this recipe in Martha Stewart's collection online - and it was DELICIOUS!!!
Pork Loin (15 pounds)
8 to 10 cipolini or small white onions unpeeled (WHY unpeeled I wanna know!)
1 T. Extra Virgin Olive oil
Coarse Salt and feshly ground pepper
FOR THE WRAP
1 T. finely chopped freh rosemary, plus several springs (I figure out to take those spky 'leaves' off the main stalk before chopping them!)
1/4 pound pancetta (Italian bacon), or bacon, thinly sliced. We found the Pancetta - and though $$$, it sure was good!
FOR THE SAUCE (Psst - I used my turkey gravy - and they never guessed!, but here's the recipe as Martha would do it!)
1 t. unsalted butter, softened
1 t. all-purpose flour
1 C. Chicken Stock
1. Preheat oven to 375 degrees. Season pork with salt and pepper. Heat oil in large cast-iron skillet over medium heat (I used my Mom's old roaster then just put it back into the roaster for the oven part). Sear pork on all sides - about 10 minutes. Remove from heat.
2. Rub pork with chopped rosemary, wrap with pancetta, overlapping strips slightly. (I had to use some toothpicks to hold it all on til I got the string all rapped avround it to hold everything int place. - Then I took out the toothpicks.) Scatter onions and rosemary springs around pork. Roast, basting occasionally with cooking juice until reaches 145 degrees on meat thermometer. 35-40 minutes. I did 20' per pound - as my roast was much, much larger. Also - there sure wasn't much juices to baste - but I did what I could - and I was also sure to place the roast fat side up - so those juices went down into the roast as well.
Transfer to platter, cover with foil.
3. Make gravy - in small bowl combine butter and four. Pour off fat from baking dish, place over med heat. Add stock, scraping bottom of skillet to loosen browned bits. Bring to boil, reduce liquid slightly, about 2 min. Whisk in butter mixture, cook til thick. Season with salt and pepper.
Sunday, November 28, 2010


Apron Stitching Directions - My Suggestions
Apron Stitching - Arghhh to Simplicity Directions!


This week I took time to stitch up an apron for Dear Daughter - to go with her decor of her first little home with #1 Grandson and wonderful new hubby! Thought it would come in handy as she does Christmas cooking in her first home's little kitchen. Here is a snapshot of the completed project. I whipped it up in about 1.5 hours - but arghhhhh - if I weren't a seasoned 'old' seamstress, those directions - or shall I say LACK OF directions in Simplicity 3752 would have had me saying not-s0-nice things and cursing sewing forever!
First it starts off with notions of Piping" and 1/2" double fold bias tape. More arghhhhh.
I selected 3 coordinating little prints - one a stripe - cause I always love strips on the bias, and knew without even looking further at the 'directions' that I'd do bias cut bindings instead...MUCH easier!

First of all, it was obvious that that pocket would have NO body to it - as there was NO lining, no interfacing along the top edge. The directions said to 'stitch piping around all edges of the pocket'!!!! A few curves and 2 corners to navigate - yea, that would be simple if I didn't know anything about sewing!
So - I cut a lining of the little polka dot 2" taller than the pocket pattern. I stitched that onto the top - right sides together in a 3/4" seam, then pressed it up - then down, to 'line' and bind the pocket top edge. I fused some of my Straight Fusible Stay Tape along that upper edge - 3 rows of it actually.
Then - instead of piping around the pocket, I cut some bias 1 1/2" wide of the same polka dot and bound the edge stitching it right side to right side as you can see in this photo. Then - I trimmed the seam allowance to 1/4", pressed it away from the pocket, and around to the backside. THEN I stitched it to the apron's top section. About that time, I'll admit, I realized that I should have trimmed the pocket outer edges down by 5/8", as it reallly seemed to large - but who can't use a BIG pocket while in the kitchen?


Step 3 of the directions provided had you 'piping' the lower edge of the bottom flounce. I knew I wanted to use a bias binding instead - of my stripe, so I folded my hunk of fabric as I instruct in my How to Fold Fabric to Cut Lots of Bias technique as you can find in my FREE INFO tab at my website - or in lots of my Creative Sweatshirt Jacket patterns, and my Embellishment DVD. Here's a photo of the finished bias-folded hunk of fabric which I then cut into 1 1/2" bias strips.

I used this bias to bind first the bottom edge of the polka dot flounce, and then the side edges of the apron. The photo below shows how I angled the fold just a bit at the corner before I did the final fold back - which then got 'stitched in the ditch'. The bias edge inside the apron was trimmed down a bit - but left 'raw' as this edge being bias will not ravel.
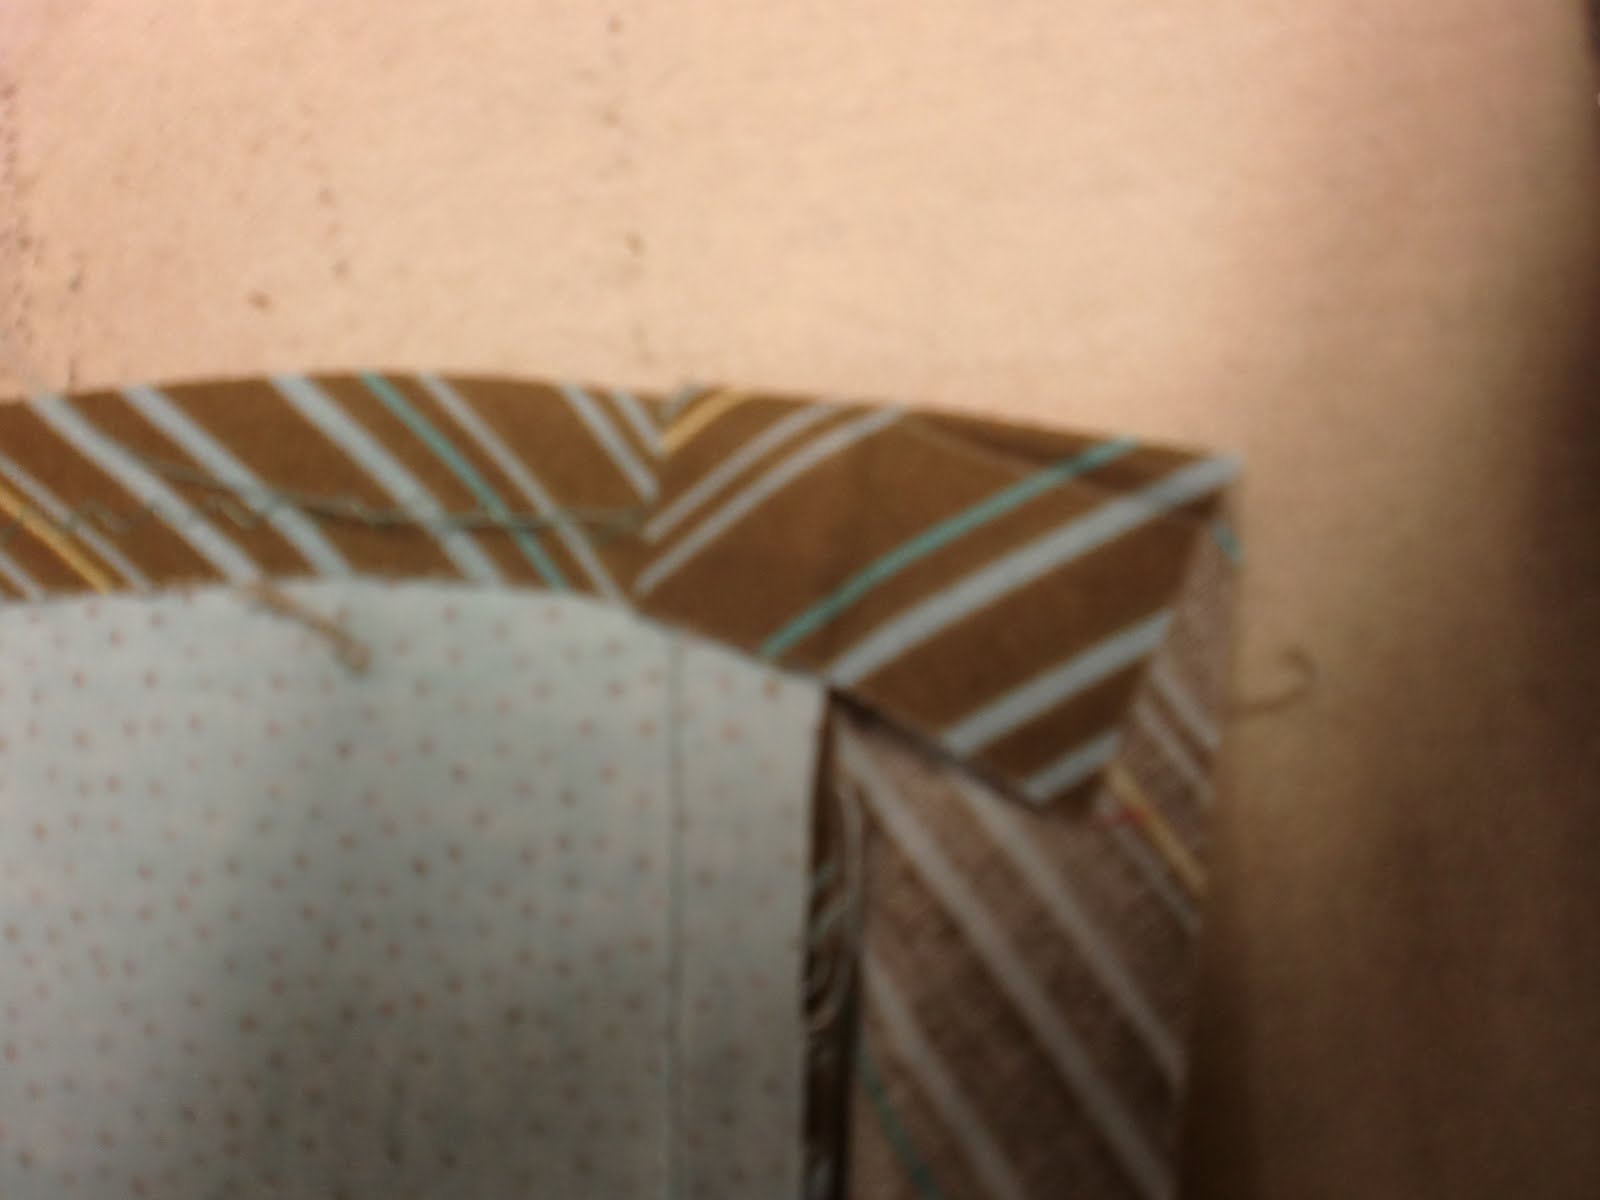

Left them was to create the top finish and tie ends - which those great directions said to do with bias tape! Yuck!!!!! I created a 'waistband' of the stripe fabric - on the bias - cut it 5" wide. You can see here that I also knew to interface that band across the front. That is the white piece here in this photo.

I I added healthy 55" extensions to that center front waistband for the ties, set the edges right sides together and stitched as you can see in the photo above. That put a seam on an edge - and to get it to lay nicely when turned, I pressed the seam allowances OPEN first, before turning the tie right side out. See photo below at th
e left. The angled edges needed to be trimmed to eliminate bulk at those corners once turned right side out also. See photo below at the right.

To then turn those tie ends, I grabbed for my favorite little tool - the ball pointed bodkin and stuck the ball end into the tip end of the tie, the other end against my body and shoved the tie down it until the pointed end pushed by the ball end of the bodkin protruded through the 'hole' where the tie becomes
 the waistband of the apron.
 You can see by this photo then that on the inside of the 'waistband area', the seam allowance turned under for a nice finish. I topstitched along that edge to secure.
 Here's a back view of my finished project...on my 'body' - my Duct Tape Double.
 Anyway - I just hate it that directions in the 'Big 4' patterns are so awful - and use such antiquated techniques. I hope the way I approached it and shared here can help you out some and improve your product AND make doing so more fun!
Thursday, November 11, 2010
GREAT Vest on my Houston Helper
As I was going through photos from the Houston Quilt Festival, I found these of my helper, Pat, and her great vest. She made it of recycled and felted wool sweaters, vests, etc. The striped binding is even the lining of a jacket she picked up for $.50 at her local thrift shop!


Home and hard at work
Houston Quilt Festival was great. Sorry I didn't post more - but I was one tired puppy by the end of each day! 
Onto new things...here is my studio (corner of the basement!) piled with VERY organized stacks of fabrics, buttons, yarn, and sweatshirts...all assembled for my proposal for a book with a major industry publisher! Will share more as things develop.....
I'm hard at work also preparing for the MEGA SALE at my website: www.londas-sewing.com
next Mon and Tues. - Nov. 15 and 16.
Ordering NOW will entitle you to FREE SHIPPING during that big sale! I'm even scanning/photo-ing some of the season end KITS for my jackets and Crone Art Buttons for this sale!

Onto new things...here is my studio (corner of the basement!) piled with VERY organized stacks of fabrics, buttons, yarn, and sweatshirts...all assembled for my proposal for a book with a major industry publisher! Will share more as things develop.....
I'm hard at work also preparing for the MEGA SALE at my website: www.londas-sewing.com
next Mon and Tues. - Nov. 15 and 16.
Ordering NOW will entitle you to FREE SHIPPING during that big sale! I'm even scanning/photo-ing some of the season end KITS for my jackets and Crone Art Buttons for this sale!
Wednesday, November 03, 2010
Houston Creative Inspiration - 11/3/10
The inspiration we see as gals stop by our booth #717 here at the Houston Quilt Festival 'Preview' night was AWESOME!


Look at this top - on a sheer knit black base. My super dooper assistant Carol eyed this jacket and broughtd her over to me and my camera! She's sitting here with me in our motel room at 12:30 am 1 1/4" folded strips (ala Clover 3/4" wide Bias Tape Maker), then folded wrong sides together a bit less than half and stitched with white thread to the black base. Marking it would be interesting, but certainly possible: right sides together of the black base, with 2 layers of dressmaker carbon, right side out slipped inbetween. 


At the top of my thumb nail, that is a folded edge, as the edge I'm holding.

An ETSY buy - this customer's fabric coiled necklace drew our attention. It was cotton, straight grain cut and folded strips, somewhat twisted here and there, but not twisted at the very center, with also just folded edges showing at the center. No stitching at all - all glued onto a base. Carol and I think trying this or a lighter weight fabric - on the bias and doing an ODD number of 'roses' would be a very inviting creative task. Gee - I can even see this done out of an old flannel plaid shirt! Chain was attached to each end to complete the necklace. She shared she thought it was still on ETSY (I'm too tired to look right now), just search there for 'coiled fabric rose necklace' and we think you'd find them.

I taught my first class yesterday - a 3 hour class on my sweatshirt jackets...starting out with my 'Frumpy to Wow' Design Principles class, then my Creative Journey program where I walked them through several jackets' design inspiration and construction. My students called it a 'sleeper' class - explaining that they loved it all and got so much more than they expected. That was great to hear - and a wonderful way to start this last show of the year for me. Their feedback also has led me to conclude that I will propose a hands-on all day class for next years' Festival. It was wonderful to have Carol in the class to help out too - and the wonderful staff in the Faculty Center are amazingly helpful and a great, safe place to keep teaching supplies.
We had a lazy start to this long day because we were lucky enough to get in quickly yesterday and got in 4 hours' work after my morning class. We finished setting up the booth from noon to 4 when the 'Preview' hours started and went til 10...!!!!
Tomorrow I'm looking forward to my Trunk Show class from 2-3 in the ballroom! Reporting more tomorrow......

I taught my first class yesterday - a 3 hour class on my sweatshirt jackets...starting out with my 'Frumpy to Wow' Design Principles class, then my Creative Journey program where I walked them through several jackets' design inspiration and construction. My students called it a 'sleeper' class - explaining that they loved it all and got so much more than they expected. That was great to hear - and a wonderful way to start this last show of the year for me. Their feedback also has led me to conclude that I will propose a hands-on all day class for next years' Festival. It was wonderful to have Carol in the class to help out too - and the wonderful staff in the Faculty Center are amazingly helpful and a great, safe place to keep teaching supplies.
We had a lazy start to this long day because we were lucky enough to get in quickly yesterday and got in 4 hours' work after my morning class. We finished setting up the booth from noon to 4 when the 'Preview' hours started and went til 10...!!!!
Tomorrow I'm looking forward to my Trunk Show class from 2-3 in the ballroom! Reporting more tomorrow......
Wednesday, October 27, 2010
NEW Creative Sweatshirt Jackets
Creatively Busy AGAIN.... some of my current KITS for jackets I offer at the sewing expos around the country include cashmere neck scarves and Pashmina scarves, so I decided to execute some jackets utilizing them.
The green cashmere scarf was simply trimmed down 5" in width, and stitched to the INSIDE of the staystitched cardigan neckline on this jacket, then flipped to the outside, tucked at the waist, let fringe hang below the twin needle hem, and the outer edge couched with yarn. Oh - and I had to take a seam at the center back to shorten it a bit to the correct length , with I did at an angle, so that the outer edge was longer than the neckline edge.
The green cashmere scarf was simply trimmed down 5" in width, and stitched to the INSIDE of the staystitched cardigan neckline on this jacket, then flipped to the outside, tucked at the waist, let fringe hang below the twin needle hem, and the outer edge couched with yarn. Oh - and I had to take a seam at the center back to shorten it a bit to the correct length , with I did at an angle, so that the outer edge was longer than the neckline edge.

The Pashmina Scarf jacket - I utilized only half the scarf, as that is what I include in some of my kits, and it was the perfect amount. I utilized the 'baseball collar' neckline from my Transformed™ Talking Pattern™ for that. Tagua Nut Buttons work with buttonholes (quite large) done through the scarf, and interfaced front edge that I'd bound with the aqua silk dupioni. I also corded those buttonholes. If you look closey, you can see the Pashmina scarf fringe that hangs at an angle from the jacket's right side at the cener front. There were lovely open pulled thread areas on this scarf that I accented with black and aqua chenille yarns. The scarf borders and botht he sides of the scarf were also utilized. I did free motion quilting around the paisly sections down the front, and across the yoke at the shoulders and back yoke. Can't wait to wear this one!

Thursday, October 14, 2010
HUNT for reversible knits!

 One of the most fun parts of doing the Sewing Expos is seeing all the neat clothing on our fashion-conscious customers! Often self-created, but also store-bought (RTW = Ready-To-Wear). I always keep my camera handy and when I ask permission, most often the wearer is flattered and I get to take pictures. This is really where I get lots of the ideas that end up in my Creative Sweatshirt Jacket Talking Patterns™. I honestly forget if this gal was at the Novi or the Chantilly shows I just completed, but the 'dust has settled' and I'm wading through ideas I got at those shows.
Check out this jacket - it is a single knit - meaning that the crosswise edge WILL curl - usually to the right side - and that means also that the knit itself looks like stockinette stitch on one side, vertical, and horizontal ribs on the reverse side. That being said, this jacket was made of one of those knits which, in addition, had a different character on both sides - dark grey heather on one side and lighter grey on the other. Anyway - FIRST- a straight UN-pleated strip of the same fabric, with the opposite side up - about 1.5" wide was stitched down along the hemline, stitching about 3/4" from the top raw edge. . (To keep the knit body from stretching out of shape ala 'roller coaster' look, I would advise STAYING where you are going to stitch, on the INSIDE with Straight Fusible Stay Tape.) Then - kinda like all the rag quilts, the 3/4" edge above the stitching was simply cut into every 1/2" or so perpendicularly TO the stitching.
THEN - the box-pleated row ruffle was added on top - opposite side of the fabric 'up'. The 'ruffle' was really box pleated row of trim - cut about 2.5" wide, cut edge 'finishing' both edges. If I were going to mark and stitch all that, I would certainly make use of the Simflex Gauge to do the marking - as this wonderful crazy tool automatically evenly spaces things.
 It appeared to be stitched about 1/2" from the top edge, right on top of the other trim's stitching, and then the opposite side flopped down over top of the stitching creating the 'double' row of light colored fabric you see. Remember- raw edges everywhere, as knits do NOT ravel!
Look at the collar - it appeared to be a double layer - with 'wrong' or light sides together, simply stitched about 1/4" away from all the edges.
Next, check out the little gathered ruffle, raw edge, stuck into the top of the sleeve cap seam. Then, the diagonal row of embellishment down the center fronts appeared to be a hand-whipped strip of rolled fabric.
Finally, up the Center Back, it was stitched wrong sides together, seam allowance exposed on the right side to emphasize a nice slimming vertical line. RAW edges again!

So thanks - whoever you were - I lost your name, sorry! But be sure we appreciate your great taste i RTW!
If you find a great reversible knit online, post it as a comment for the rest of us here at this post. Remember, I must approve all posts before they show up - so feel free to send me a quick email alerting me that you posted. londa@londas-sewing.com.
Sew.........beware when you visit my booth - I just may photo and 'pick' at your great clothing!
Monday, October 11, 2010
FREE SHIPPING on Creative Sweatshirt Jacket Products thru Wed., Oct. 13
It sure makes my day - and all the heart I pour into my directions - written and TALKING - when I receive emails like the 2 below!
" I really liked the talking pattern and found it more helpful than I'd expected. The pictures and explanations are very good and I like the way it is delivered in short segments so it's easy to repeat if needed. This morning, I checked email and saw the second email you had sent testing the original link. I clicked on that and it works for me also. I don't know what the problem could have been as spelling checked out. Anyway, it works now. Thanks for your time and effort in helping me get the pattern." from Cheryl in VA
"Am working on my "Refined Jacket" with your Talking Pattern Assistance. I can't believe the value in your talking pattern. It's like taking a private class at my convenience. I always learn something that helps with my whole sewing experience. The fitting and cutting instructions are so good and my jacket is going to be a perfect fit." from Pat in NY
AND... sometimes there are questions, and I'm always happy to answer those as well, so ALWAYS be sure to just e-mail me or call with ANY and ALL questions you might have! I work with my wonderful local printer to print my pattern booklets and book, so I can make corrections as they appear to be needed.
I'm celebrating - and just changed shipping to FREE
on all of my Creative Sweatshirt Jacket products...for TODAY - TOMORROW and WEDNESDAY til midnight -
Yes, FREE SHIPPNG for all my Creative Sweatshirt Jacket products - patterns, books, and DVD's ...
through midnight, October 13 CST.
BEWARE of Current Pant Silhouettes!

Can't help it - got this Chico catalog last week and immediately put it on my scanner to remind myself to scan and comment.
It seems that SKINNY pants are the rage for fall! Unless you are Twiggy skinny - DON'T DO IT...I beg you! See the skin-tight silhouette of the pants at the left side of the image to the left? THAT is TOO skinny to be attractive for - I'd venture to say at least 90% of American women - of any age!
The straight leg silhouette at the right is a big more forgiving - but not alot, in my humble opinion.
What I was taught and continue to believe in - bottom line, is that I'd rather look like "I lost weight" rather than "I need to lose weight". Too tight of clothing ALWAYS accomplishes the latter. Don't go there. Stick with the silhouette of pant that looks good on YOU!
For me - and most of us - that, to me, is the boot cut - or a subtle flare which balances the rest of our usually too heavy bottom halves.
There... I said it - YEA!
Friday, October 08, 2010
Talking Pattern™ url corrections
EEEKS - while I and my publisher/printer try VERY hard to check every dot and tittle in my publications, it appears that a few have snuck by us.... so if you purchased either of these two patterns, please read below and make the corrections that will be obvious to you when you look at the url that gets you to the 'Talking' portion which is printed INSIDE the booklet you purchased!
while I try my very hardest...I'm humbled and comforted to know and believe that ...
only God does things perfectly!
- Chosen - use a small c in the url - not a capital c. Also - the last url mistakenly has tm after the 'c' word - eliminate the tm. My printer is graciously reprinting to correct this.
- Genesis Too - in the url, simply insert a period, a dot in the url before the 'com'. I tried to manually correct most of these - but obviously missed some. This pattern has sold so furiously, that I have a new big bunch that is all correct now.
while I try my very hardest...I'm humbled and comforted to know and believe that ...
only God does things perfectly!
Monday, September 27, 2010
Travel/Show Update
Novi is over - and it was super! Thanks to all of you who visited my booth, made a purchase, and also those who selected my classes, and took in my fashion show!
Eeeks - I am sure thankful for microphones! The last day my voice all but disappeared.
Helper Vickii has taken me back to my memories of my Grandma - by urging me to put Vicks Vaporub - under my nose and on the soles of my feet! At least I can breath through my nose - and that is unreal for me when I have a cold!
Garmin failed me today - did not 'recalculate' when we were on I-75 south and she was saying we were fine on I-80 East. Oh well.....
Especially thrilled with how well my new 'baby' Creative Jacket Journey was received. Anxious for feedback to come in - so as you watch it - please let me know!
Sold out of so many of my KITS for my Creative Sweatshirt Jackets - I went all over the Novi show buying more goodies and will try to find the energy to make some more when a few supplies arrive from dear hubby at home via UPS.
My old High School buddy Vickii and I are having a ball - and wow was I thankful for Carole's help.
All propped up in a Hampton enjoying Dancing with the Stars! LOVE the outfits - one of the most fun parts - and then hubby and I 'dance' a bit ourselves...
WILL try to figure out how to get those photos of the Passion for Fashion Contest out of my camera and into my laptop - when I feel better!
Eeeks - I am sure thankful for microphones! The last day my voice all but disappeared.
Helper Vickii has taken me back to my memories of my Grandma - by urging me to put Vicks Vaporub - under my nose and on the soles of my feet! At least I can breath through my nose - and that is unreal for me when I have a cold!
Garmin failed me today - did not 'recalculate' when we were on I-75 south and she was saying we were fine on I-80 East. Oh well.....
Especially thrilled with how well my new 'baby' Creative Jacket Journey was received. Anxious for feedback to come in - so as you watch it - please let me know!
Sold out of so many of my KITS for my Creative Sweatshirt Jackets - I went all over the Novi show buying more goodies and will try to find the energy to make some more when a few supplies arrive from dear hubby at home via UPS.
My old High School buddy Vickii and I are having a ball - and wow was I thankful for Carole's help.
All propped up in a Hampton enjoying Dancing with the Stars! LOVE the outfits - one of the most fun parts - and then hubby and I 'dance' a bit ourselves...
WILL try to figure out how to get those photos of the Passion for Fashion Contest out of my camera and into my laptop - when I feel better!
Friday, September 24, 2010
American Sewing Expo - Novi excitement
Wow! Novi American Sewing Expo just concluded its first day - and while I hardly have a voice left - it has been a GREAT day!
Tomorrow is the Passion for Fashion event - a Project Runway spinn off. Sew - at the end of the day - we get to sit and watch the contestant designers show their garments and then await the judges determination. Honestly, I forget the exact 'challenge' - but they each have a model car on display at their work area that they were given, as the 'inspiration' for their garment. Truly a very creative challenge.
I'll be sure to take photos tomorrow night to share - along with my 2 cents worth!
It was especially fun to see a customer from my old shop days at the show, and in one of my classes! Hi Cheryl - and I'm not sure I'm spelling your name correctly!
What a treat when women can escape into their creative 'world' in such a huge 'candy store' as this - and often with friends who share the love of sewing with them! Seems many have gift-making on the brain - an indication of the giving spirit of sewers!~!!
Tomorrow is the Passion for Fashion event - a Project Runway spinn off. Sew - at the end of the day - we get to sit and watch the contestant designers show their garments and then await the judges determination. Honestly, I forget the exact 'challenge' - but they each have a model car on display at their work area that they were given, as the 'inspiration' for their garment. Truly a very creative challenge.
I'll be sure to take photos tomorrow night to share - along with my 2 cents worth!
It was especially fun to see a customer from my old shop days at the show, and in one of my classes! Hi Cheryl - and I'm not sure I'm spelling your name correctly!
What a treat when women can escape into their creative 'world' in such a huge 'candy store' as this - and often with friends who share the love of sewing with them! Seems many have gift-making on the brain - an indication of the giving spirit of sewers!~!!
Friday, September 17, 2010
YEAH - Creative Jacket Journey has arrived!
 http://www.londas-sewing.com/Creative-Jacket-Journey-DVD-CAT-p25333.html
Yea! The 'labor' is over and 'she' is here! All 1020 copies of her! Many already shipped out to all who were kind enough to pre-order.
I'm tickled to death and so appreciative of everyone's confidence AND especially my friend Gloria's help with the DVD as a wonderfully creative and inquisitive 'student' and my son Jeff's awesome technical editing!
Anxious to hear reviews................
Sine you found this DVD on my BLOG - SAVE$ when you purchase - click on link below:
http://www.londas-sewing.com/Creative-Jacket-Journey-DVD-CAT-p25333.html
Wisdom for the day
My grandson started kindergarten this year, and the first day he came home talking about a Bully being mean to him!
Heard a very good program from the archives of Dr. James Dobson's Family Talk today - can't recommend these 2 highly enough... Healing the Wounded Spirit - parts I and II.
Here is a link:
http://www.myfamilytalk.com/Broadcast/
Have any and all children of any school age listen to these!
Then also heard this while I was in the car - Forgiveness is the decision to lift the barrier and let others back into our lives. The discussion was about marriage - and how sometimes a partner will seemingly 'demand' forgiveness. Impossible - one can request forgiveness, but can't force it.
Heard a very good program from the archives of Dr. James Dobson's Family Talk today - can't recommend these 2 highly enough... Healing the Wounded Spirit - parts I and II.
Here is a link:
http://www.myfamilytalk.com/Broadcast/
Have any and all children of any school age listen to these!
Then also heard this while I was in the car - Forgiveness is the decision to lift the barrier and let others back into our lives. The discussion was about marriage - and how sometimes a partner will seemingly 'demand' forgiveness. Impossible - one can request forgiveness, but can't force it.
Subscribe to:
Posts (Atom)


